Medovik Honey Cake, or/ Russian Honey Cake, is one of my all-time favorite desserts. I’m so excited to share it with you today!
You may have tried honey cakes before, but this layered Medovik Honey Cake (sweetheart) is something very special! It's exceptionally popular in Russia and now around the world too.
That said, my Russian Honey Cake Recipe has something unique to offer. It's Gluten-free! So everyone can enjoy it.
And to be completely honest, This layer cake truly lives up to the hype. And I can't wait for you to taste it!
So let's get into it.
What is Medovik Honey Cake?
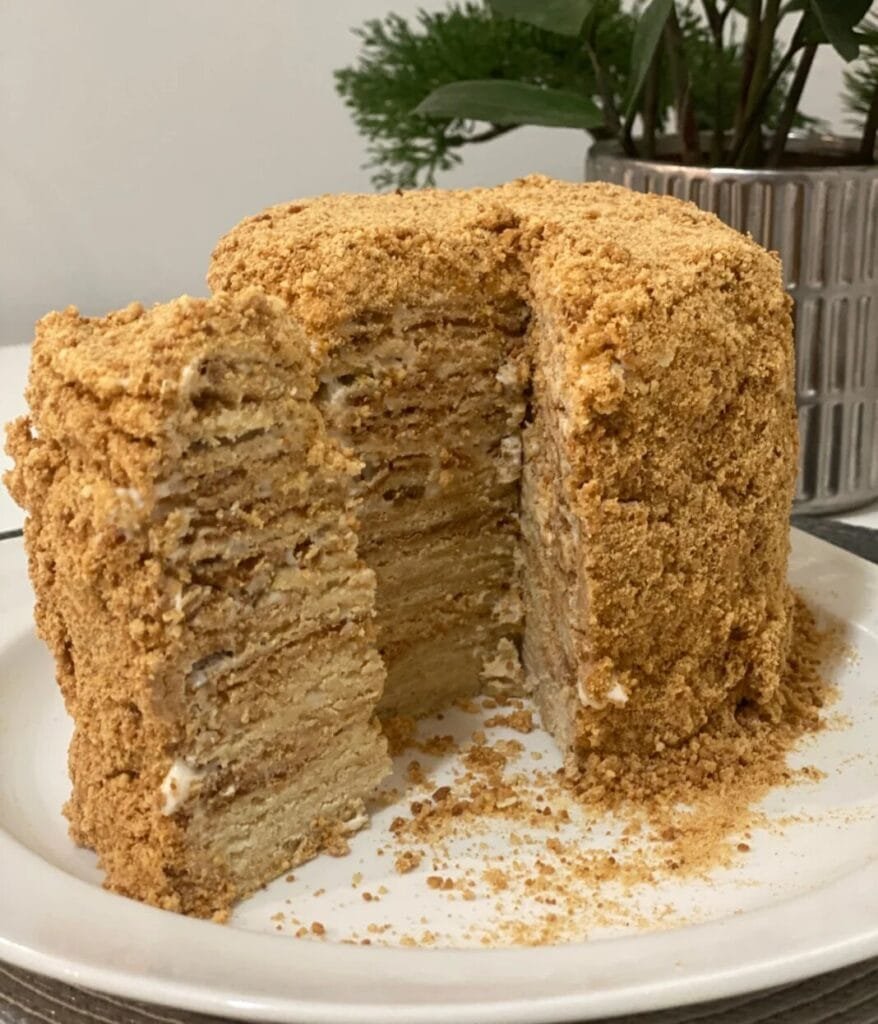
Medovik, also known as Russian Honey Cake, is a layered cake. It originated in Russia and is also very popular in former Soviet Union countries such as Ukraine, Uzbekistan, and many others.
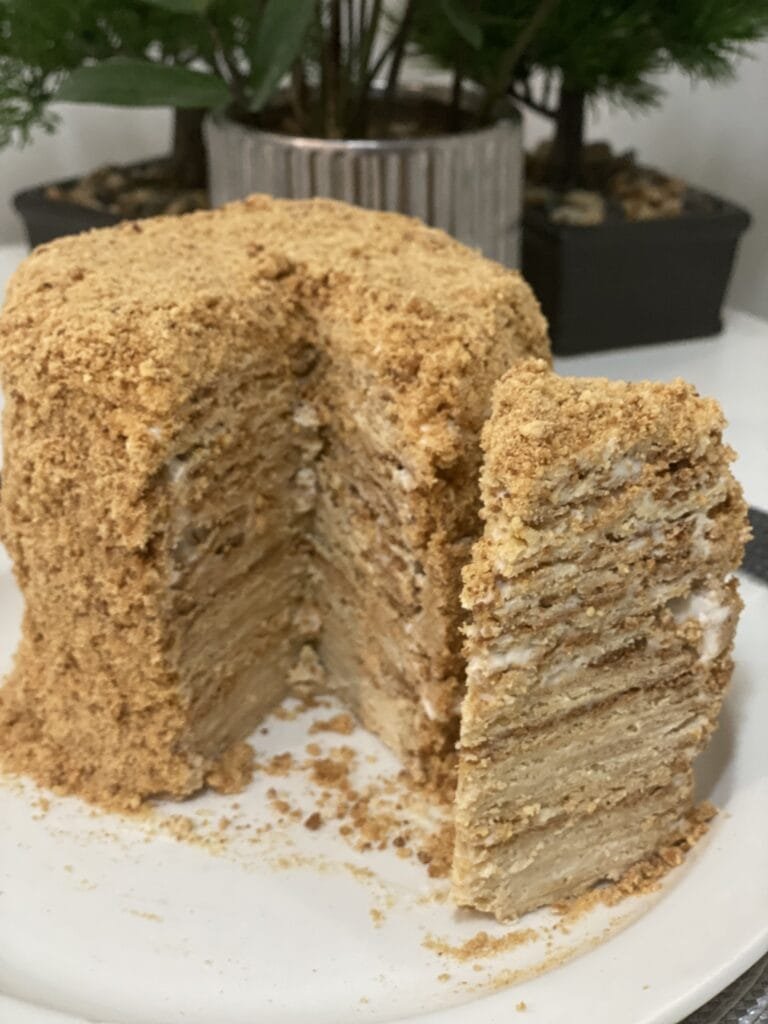
It is made up of many thin layers of cake that taste like honey, stacked up with a creamy filling in between. The filling is usually a bit tangy, like sour cream or whipped cream, which goes really well with the sweetness of the honey.
After it’s put together, the cake is left to sit in the refrigerator for a few hours, so the flavors mix and the layers get softened. This makes each bite smooth and tasty, like a honey-flavored cloud!
People worldwide love Medovik Honey Cake because it’s sweet, unique, and melts in your mouth.
And we cannot ignore history, so keep reading…
Origin of Medovik Cake
Medovik Honey Cake story goes back to the early 19th century. Legend says that it was first created by a young chef in the royal kitchen of Emperor Alexander I.
At that time, the emperor’s wife, Empress Elizabeth, disliked honey and avoided any foods that contained it. Literally, honey drove her mad!
Anyways, the new young chef was unaware of her dislike, and to impress her, he prepared a layered cake with honey as the main ingredient (today known as Medovik Honey Cake).
Surprisingly, Elizabeth loved the cake and didn't even notice it was filled with honey.
If I quote the Wikipedia words, she fell in love with the cake.
From that point on, Medovik became popular.
It spread from the royal kitchen to households all over Russia and worldwide today. Isn't that fascinating?
More Gluten-Free Recipes for You:
Ingredients Needed
- Eggs
- Honey
- Coconut oil (or unsalted butter)
- Baking soda
- Gluten-free all-purpose flour
- Dairy-free sour cream
- Coconut cream
- Maple syrup
- Vanilla extract
Find the printable recipe with measurements below.
How to Make This Recipe:
Let's be honest, Medovik/Russian Cake takes a lot of effort & time. But It's definitely worth it. In fact, gratifying!
Let's start by preheating the oven to get it ready.
Begin with the dough—whisk the eggs, then add melted butter and honey, which gives the cake its rich, honey-kissed flavor. Next, add the baking soda (It will help the layers rise just a bit). Now, gradually mix the flour.
Note: The dough should be smooth but not too sticky (makes it easy to work with).
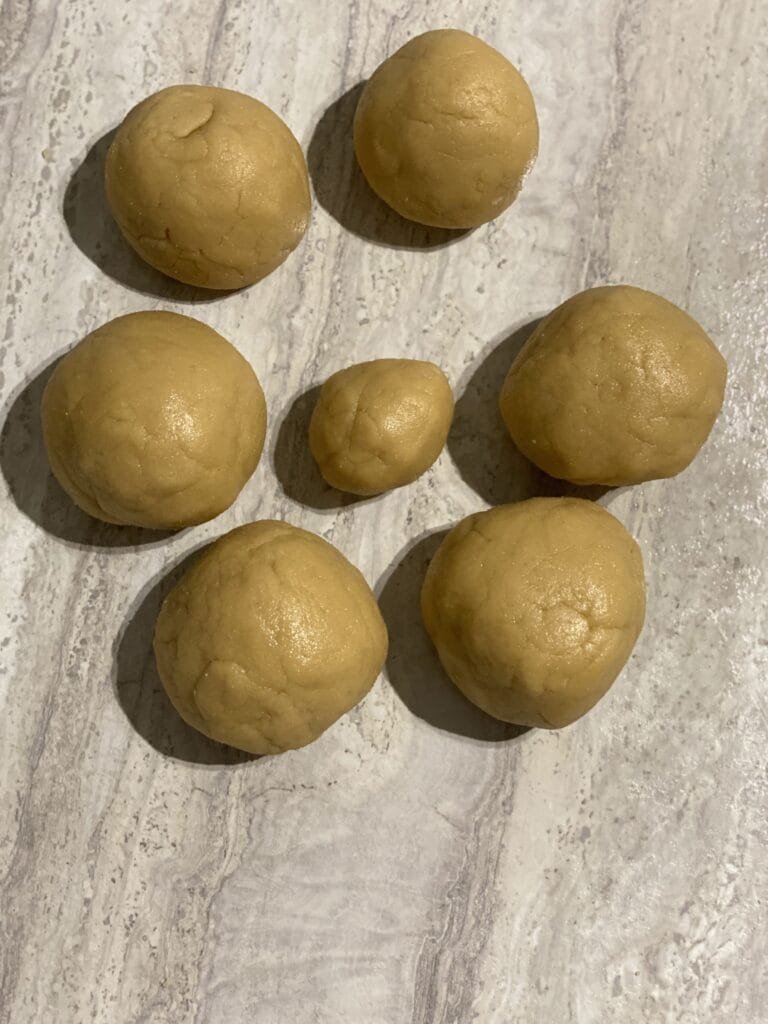
Sprinkle some flour on your work surface. Knead the dough just a bit to get a smooth texture. Afterward, divide it into equal portions. Shape each piece into a small ball, and cover with a cloth to prevent drying.
Now, for the fun part—rolling!
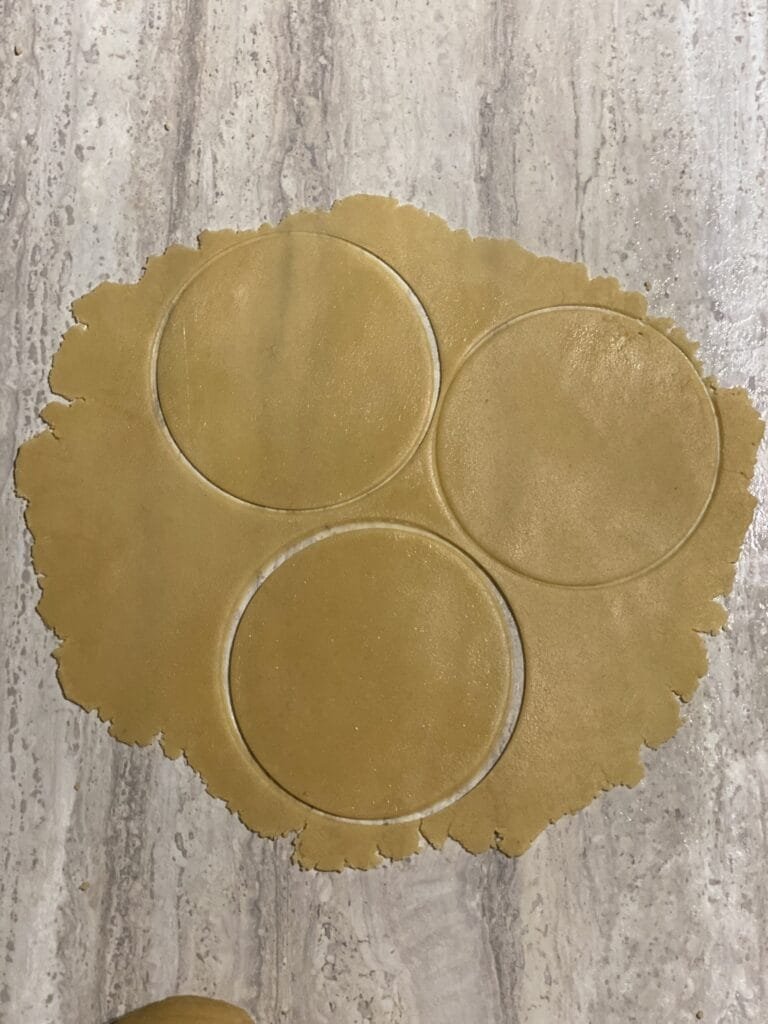
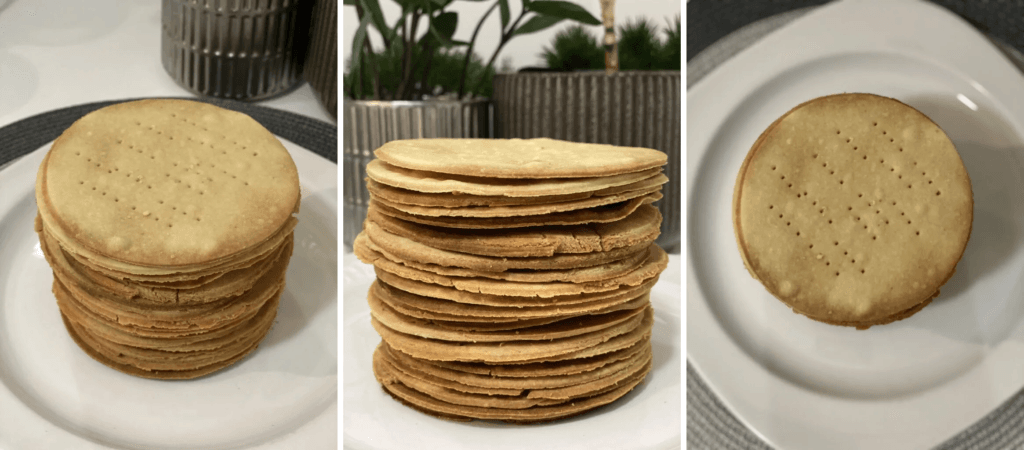
Roll each ball into a thin, tortilla-sized circle. Don’t worry if they’re not perfect. We will shape the cake layers by trimming them.
Use a cake ring or any round cutter to get nice, even circles.
Poke some holes in each layer with a fork. This will keep them from puffing too much.
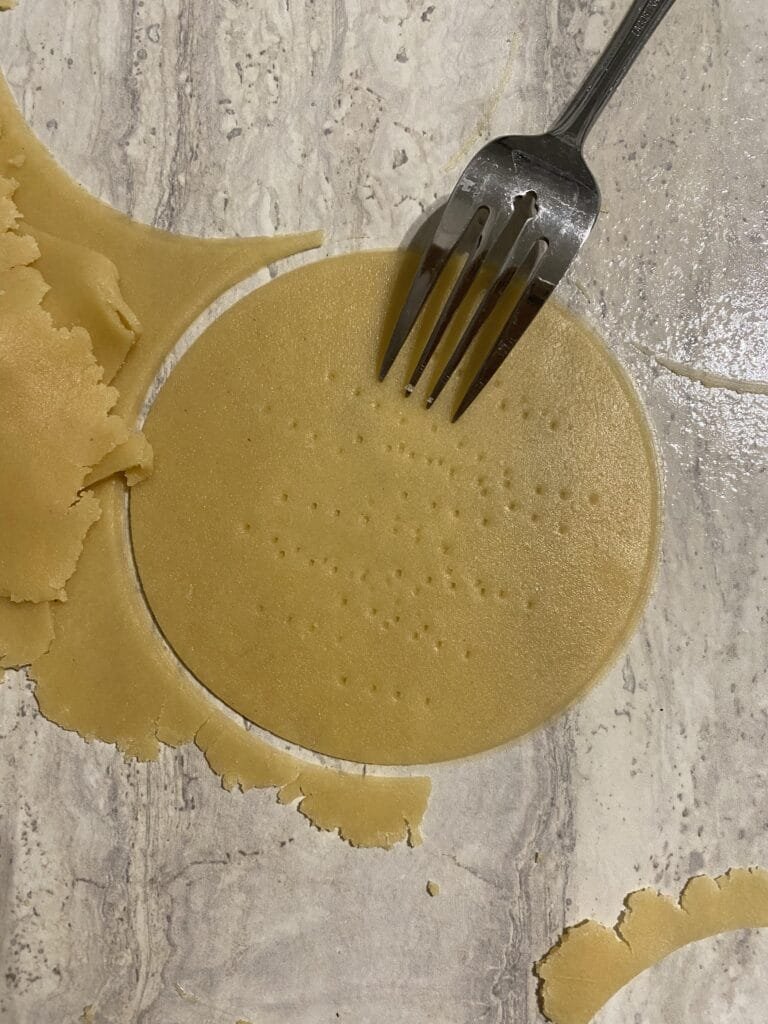
Bake each for 6-7 minutes until they turn a beautiful golden color.
They’ll smell amazing!
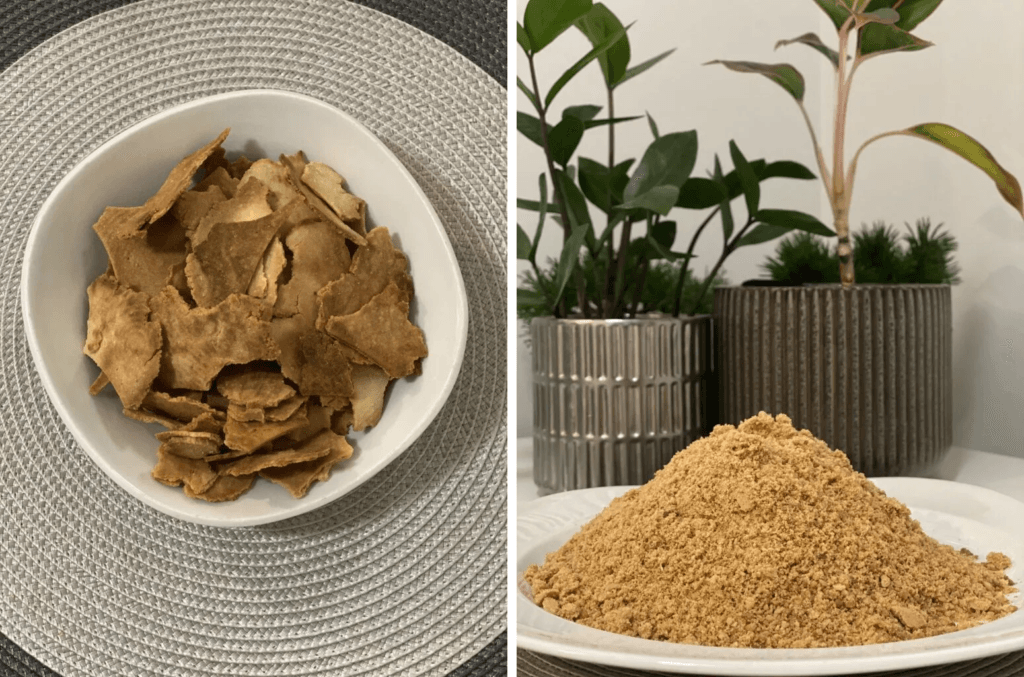
Now, also bake leftover trimmings. Refrigerate until completely cool and firm, then grind them into fine crumbs. We'll be using it to coat the cake.
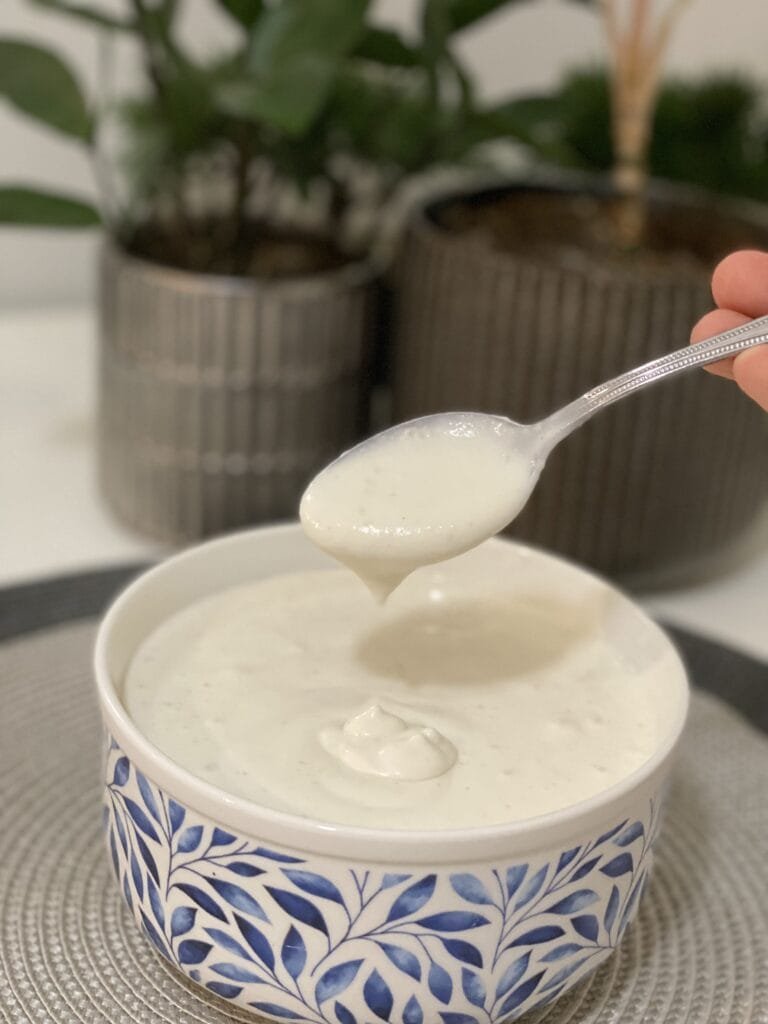
Now, let's make the cream filling
Whisk together the coconut cream and sour cream with maple syrup and vanilla.
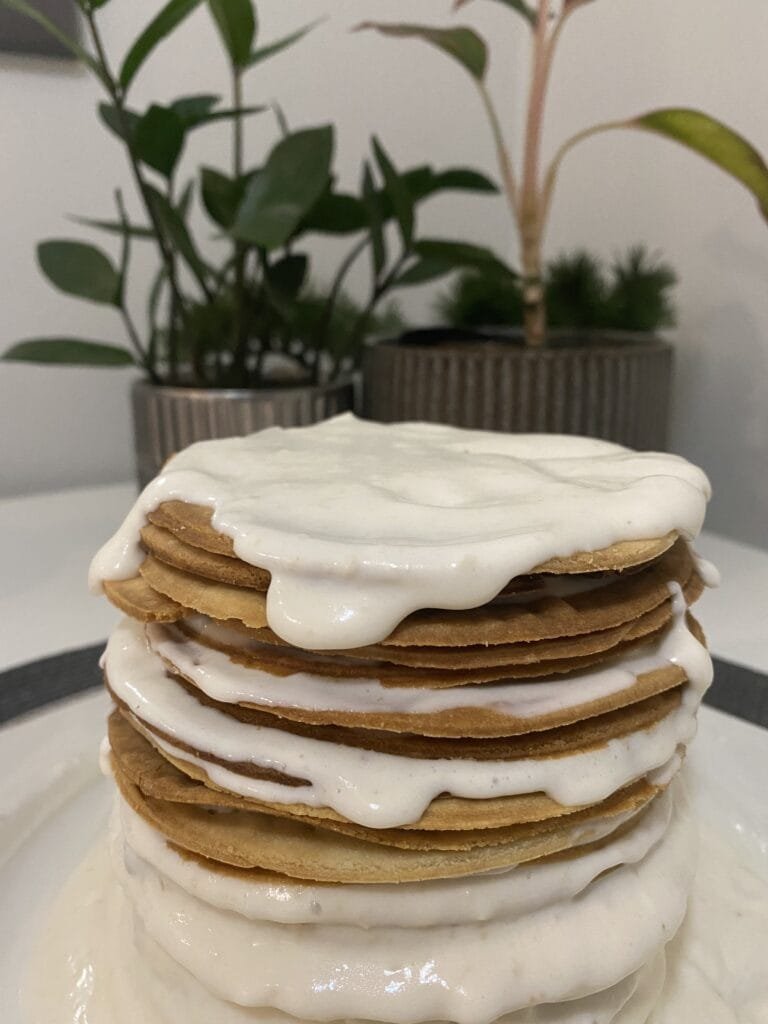
Assembly Time!
Start by spreading a teaspoon of cream on your plate or cake stand to anchor the first layer. Place the first layer on, then cover it with a few tablespoons of cream, spreading it out evenly.
Repeat, stacking each layer with cream.
Finish by covering the sides with the remaining cream and sprinkling the ground crumbs all around.
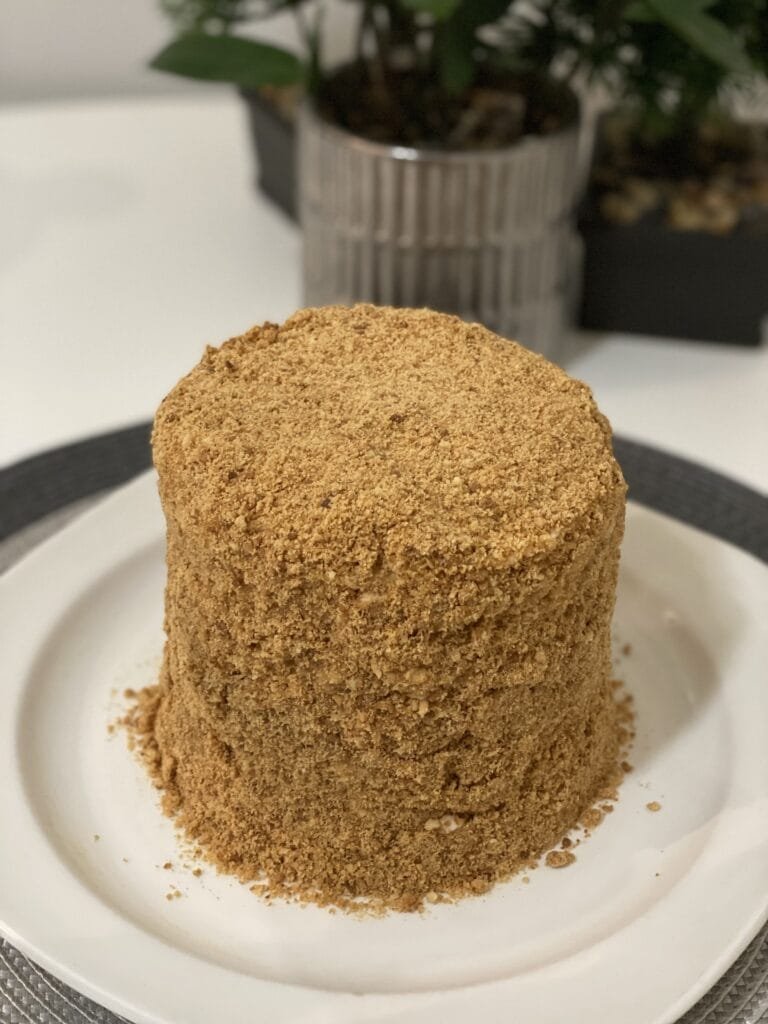
Once assembled. Refrigerate the cake. After a few hours—or even better, overnight—it’ll be ready to slice into tender, honey-soaked layers that melt in your mouth!

Medovik Russian Honey Cake (Gluten-Free)
Description
Ingredients
- 3 eggs
- 1 cup honey If you prefer a less sweet taste, you can use half a cup of honey instead
- 1 cup coconut oil or unsalted butter
- 1 teaspoon baking soda
- 3 ½ cups gluten-free all-purpose flour
- 2 ½ cups dairy-free sour cream
- 1 can coconut cream place the cane upside down and store it in the refrigerator
- 1 cup maple syrup
- 1 teaspoon vanilla extract
Instructions
- Preheat your oven to 350°F (175°C).
- Whisk the eggs in a bowl and blend well.
- Melt the butter in a microwave. Add melted butter and honey to the egg mixture.
- Mix in baking soda. Then, gradually add flour and continue stirring until dough forms.
- Lightly sprinkle the floor on the surface and knead the dough on it. Then divide the dough into equal portions.
- Shape each portion into a ball, cover it with a muslin cloth, and roll them into thin layers, similar to tortillas.
- Trim each layer using a cake ring cutter or a similar tool.
- Pierce each layer with a fork, then bake for 6-7 minutes or until It's golden.
- Continue this process with all the layers.
- Now, don't forget those leftover trimmed dough pieces; bake them as well.
- After baking, when they're completely cool and firm, grind them to make fine crumbs. (We are gonna use these cake crumbs when assembling)
Now, let's make the cream
- Grab a bowl and mix dairy-free sour cream and coconut cream. (Only use the cream from the coconut-can; save the coconut water for another use)
- Add maple syrup and vanilla extract to the cream mixture.
- Give it a good whisk until it reaches that rich, smooth consistency you’re looking for!
Assembly time
- Spread a teaspoon of cream on a plate or cake stand. Place the first layer on it to help it stick.
- Continue layering the cake, spreading about 3 tablespoons of cream on each layer.
- Use the remaining cream to coat the sides of the cake.
- Now sprinkle the ground crumbs all over the cake.
- Refrigerate the cake overnight or for at least 5 hours to set.
- Once chilled, slice and serve. Enjoy your gluten-free Honey Cake!
Notes
- This cake gets better with time. So, making it a day early allows the flavors to settle beautifully for a deeper, more indulgent taste!


I tried this recipe and everyone loved it! Thank you for sharing it!! 🙂
This is the best layered cake I’ve ever made. Yes, It takes a lot of time and effort but worth it. Thanks Emaan for this amazing recipe.
I made this medovik cake, and it’s absolutely amazing especially for someone like me with gluten sensitivity