
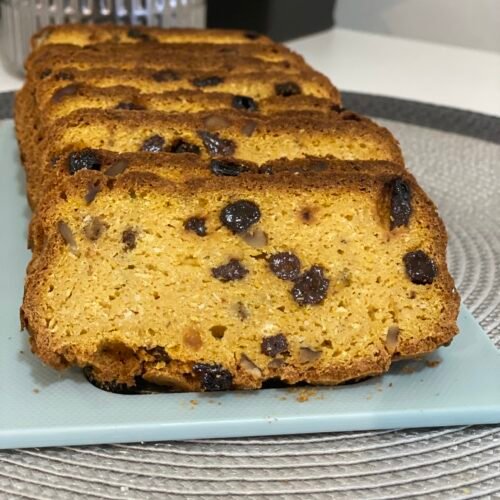
This gluten-free pumpkin cake is one of those recipes that surprises people every single time. It's moist, tender, and loaded with pumpkin puree, walnuts, raisins, and shredded coconut. And it's sweetened entirely with pure maple syrup, so there's no refined sugar involved.
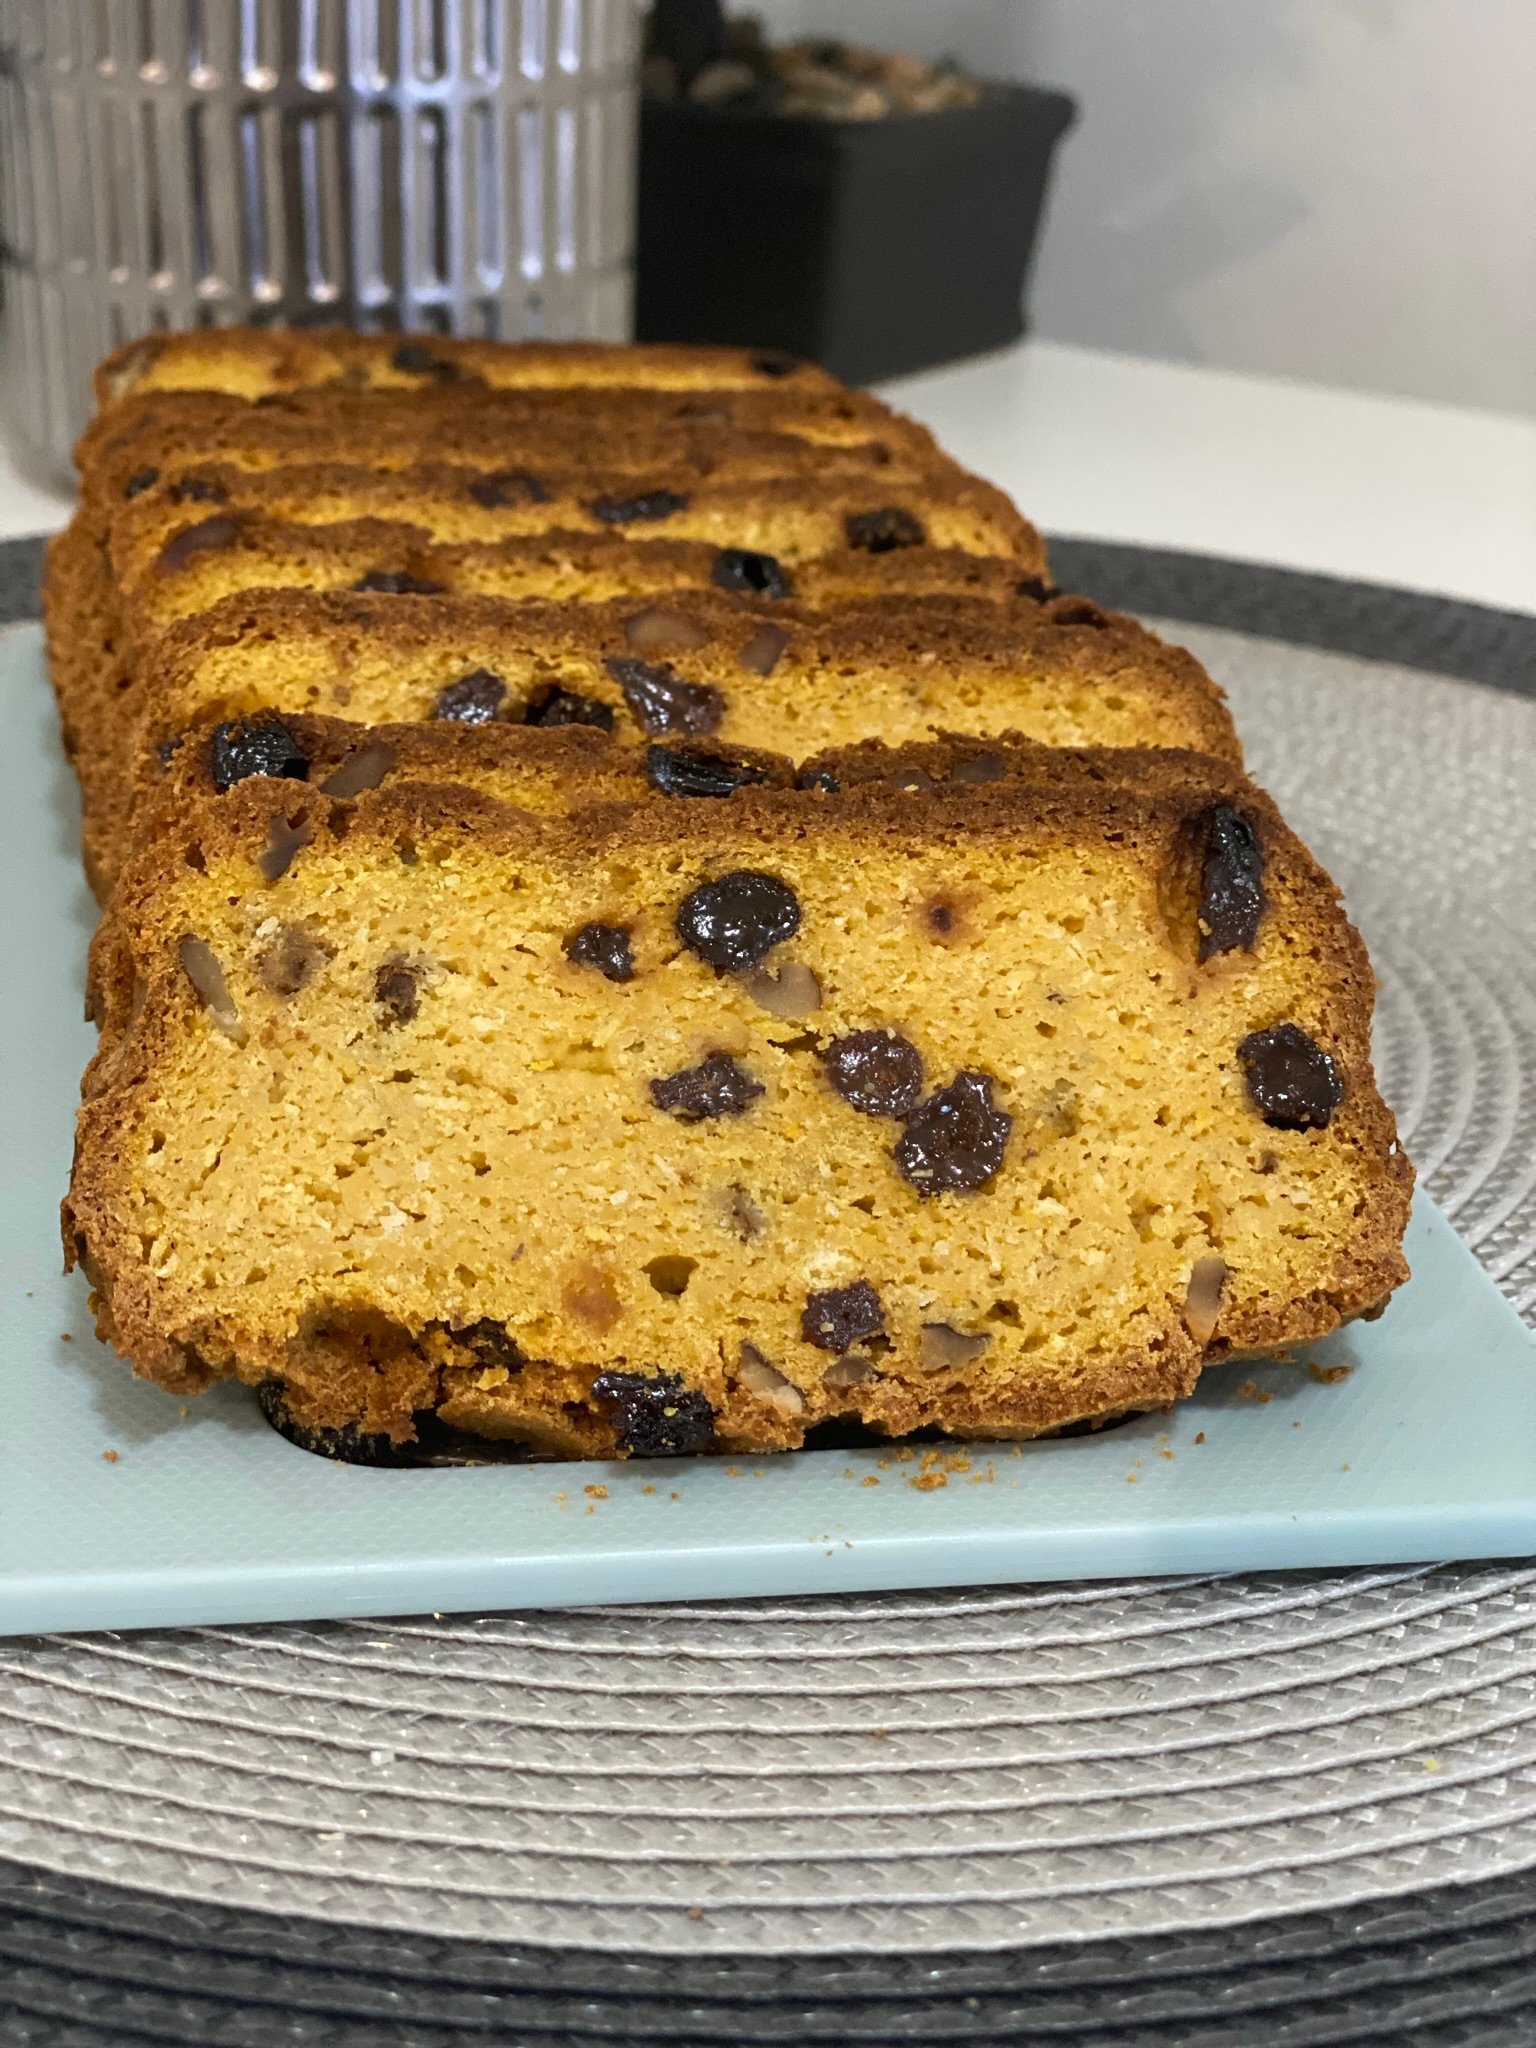
What makes this cake REALLY special is the texture. The pumpkin puree keeps it incredibly soft, while the walnuts and coconut give it just the right amount of crunch and chew. A drizzle of maple syrup on top while it's still warm takes it over the edge.
I've made this cake for gatherings where nobody even realized it was gluten-free until I told them. It's THAT good. Whether you're gluten-free or not, this one is absolutely worth making.
Ingredients
Here's what you'll need and why each ingredient matters.
Gluten-Free All-Purpose Flour (3 cups) - The base of the cake. Any good quality gluten-free blend will work, but feel free to experiment with different brands to find the texture you like best.
Pumpkin Puree (1 and 1/2 cups) - This is what gives the cake its incredibly moist, velvety texture. You can use canned or homemade (just make sure to drain any excess moisture if you're making your own).
Pure Maple Syrup (2 cups) - The ONLY sweetener in this recipe. It adds a warm, rich sweetness that pairs perfectly with pumpkin. Adjust the amount to your taste.
Coconut Oil or Unsalted Butter (1 and 1/2 cups) - Melted and cooled before adding. Coconut oil keeps it dairy-free if that's important to you (but butter works just as well).
Egg Whites (3) - These help the cake rise and hold its structure without making it heavy.
Raisins (1 and 1/2 cups) - Natural sweetness and little pops of flavor in every bite.
Walnuts (1 cup) - Chopped and folded into the batter for a hearty, nutty crunch.
Shredded Coconut (1 cup, unsweetened) - Adds a subtle sweetness and chewy texture throughout the cake.
Baking Soda (1 and 1/2 teaspoons) - Split into two parts. One spoon goes into the dry ingredients, and the remaining half gets combined with lemon juice for a fizzing reaction that helps the cake rise.
Lemon Juice (1 and 1/2 teaspoons) - Mixed with baking soda right before folding into the batter. This little trick gives the cake a lighter, fluffier texture.
How to Make Gluten-Free Pumpkin Cake
Step 1: Preheat and Prep
Preheat your oven to 350°F (175°C). Grease and flour a cake pan of your choice.
Step 2: Mix the Dry Ingredients
In a large mixing bowl, combine the gluten-free all-purpose flour and one spoon of baking soda. Stir well so the baking soda is evenly distributed throughout the flour.
Step 3: Mix the Wet Ingredients
In a separate bowl, whisk together the melted and cooled coconut oil (or butter), egg whites, and maple syrup until smooth and well combined.
Step 4: Add the Pumpkin Puree
Gently fold the pumpkin puree into the wet mixture until it's evenly distributed. This is what gives the cake its AMAZING velvety texture.
Step 5: Combine Wet and Dry
Gradually pour the wet ingredients into the dry ingredients, stirring continuously to form a smooth batter. Don't overmix here. Overmixing can make the cake tough and dense.
Step 6: Fold in the Good Stuff
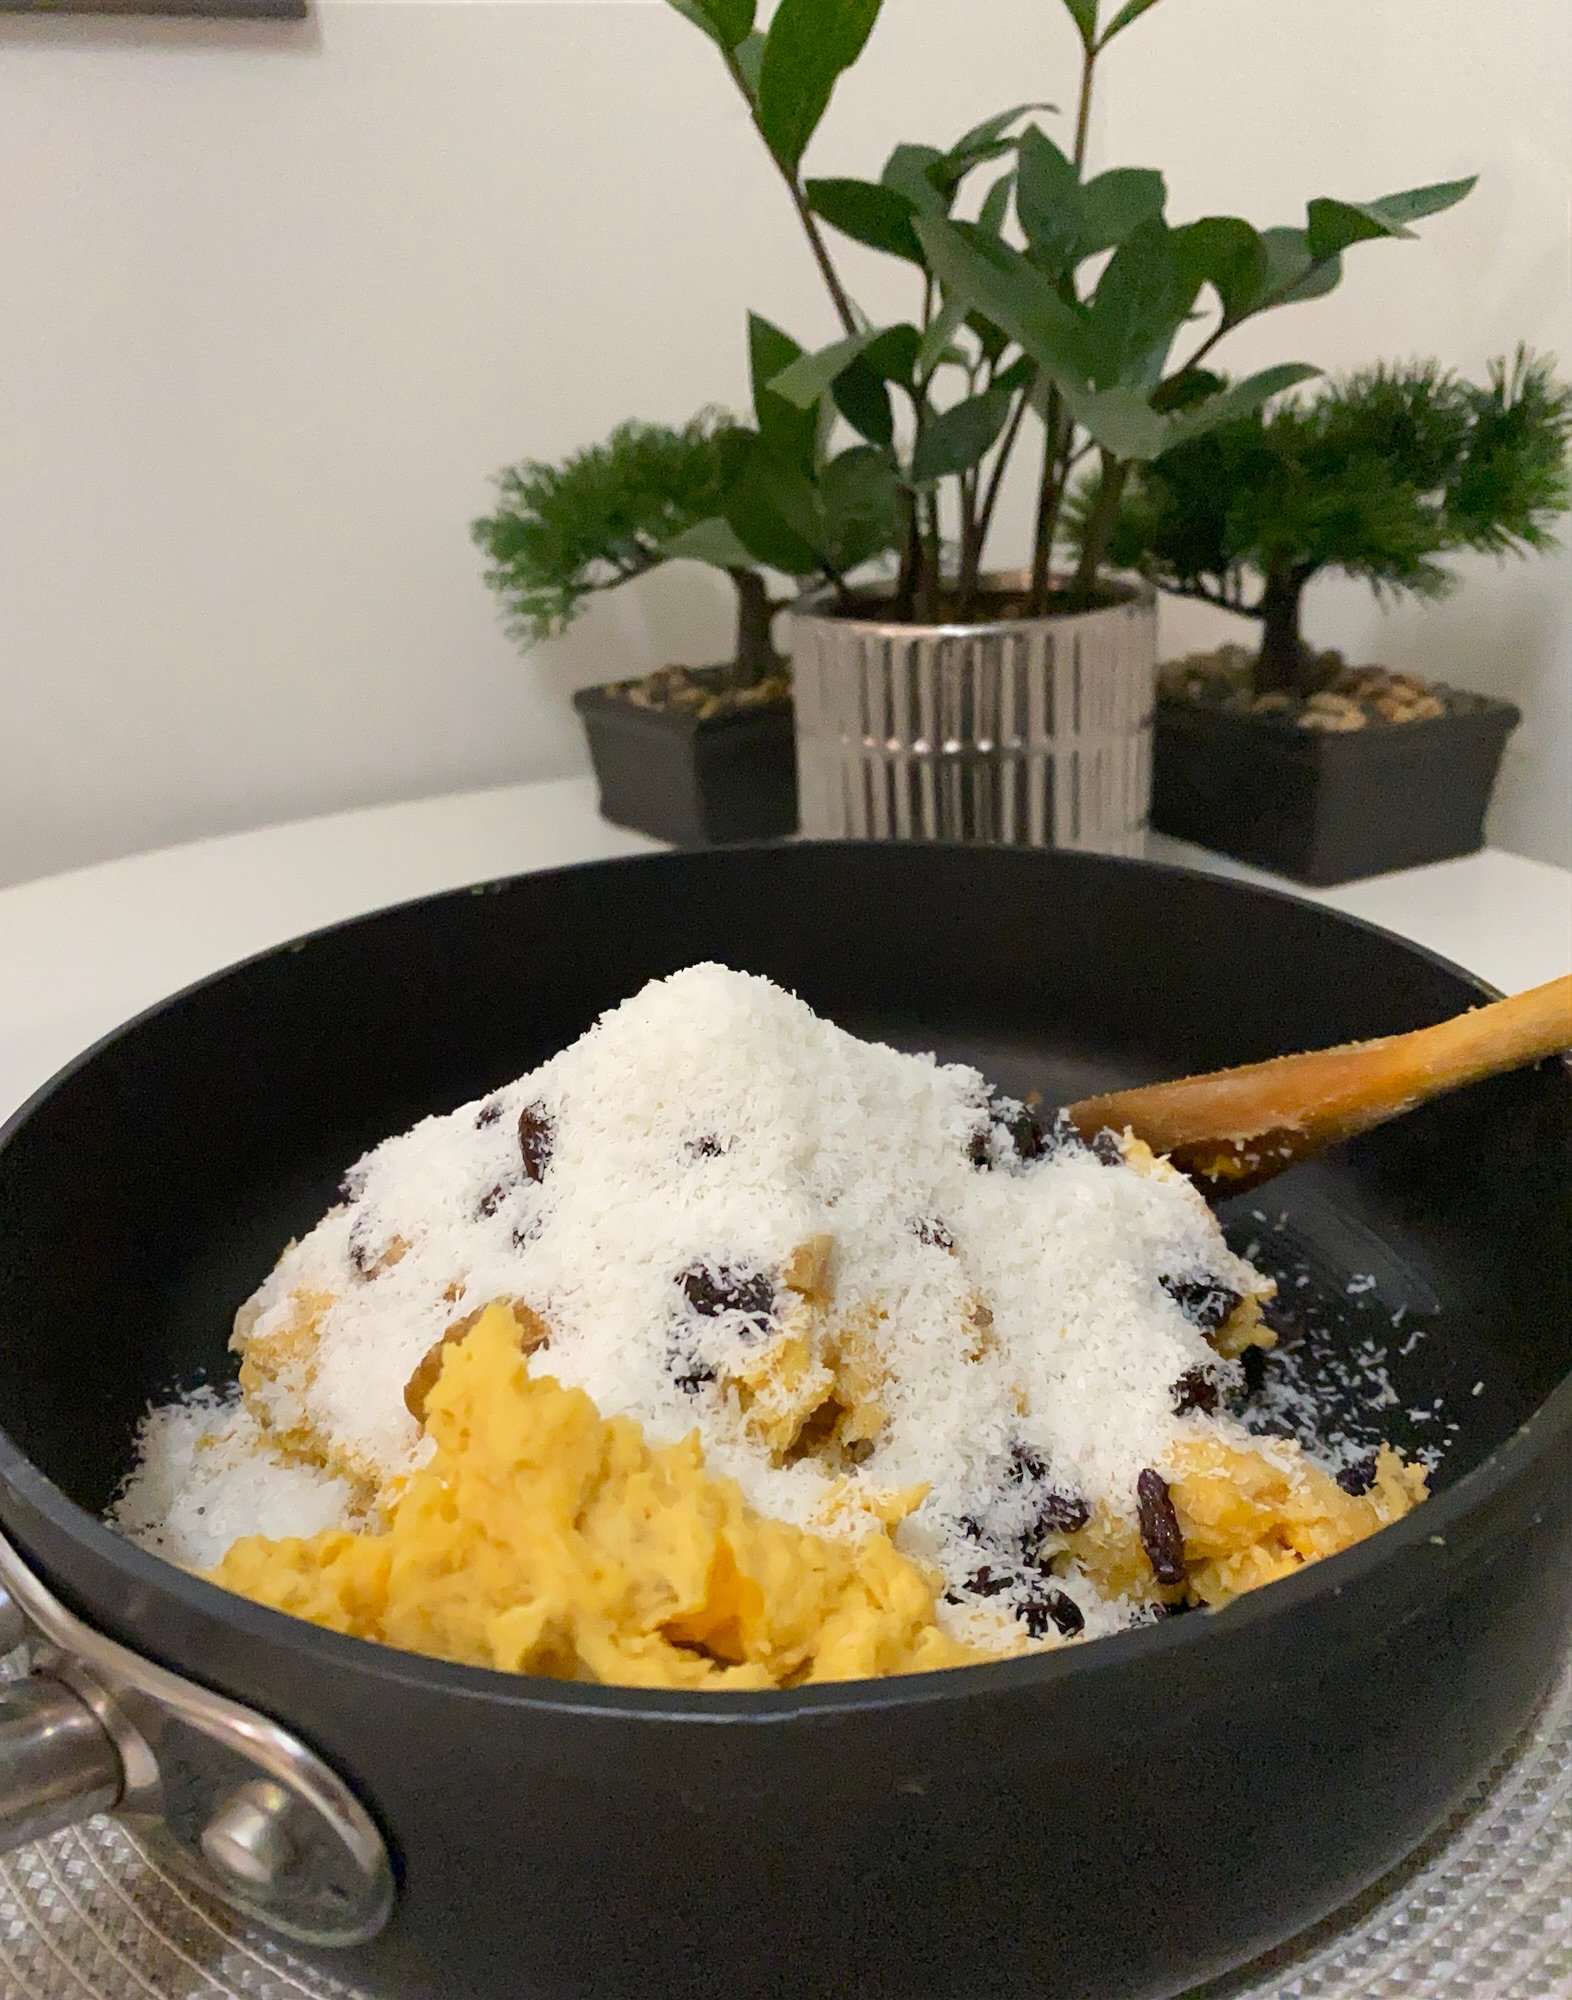
Add the raisins, shredded coconut, and chopped walnuts to the batter. Gently fold them in until everything is evenly spread throughout.
Step 7: The Lemon Juice Trick
In a small bowl, combine the lemon juice with the remaining half spoon of baking soda. Let it fizz for a few seconds, then fold it into the batter. This reaction helps the cake rise and gives it a lighter, fluffier crumb.
Step 8: Bake
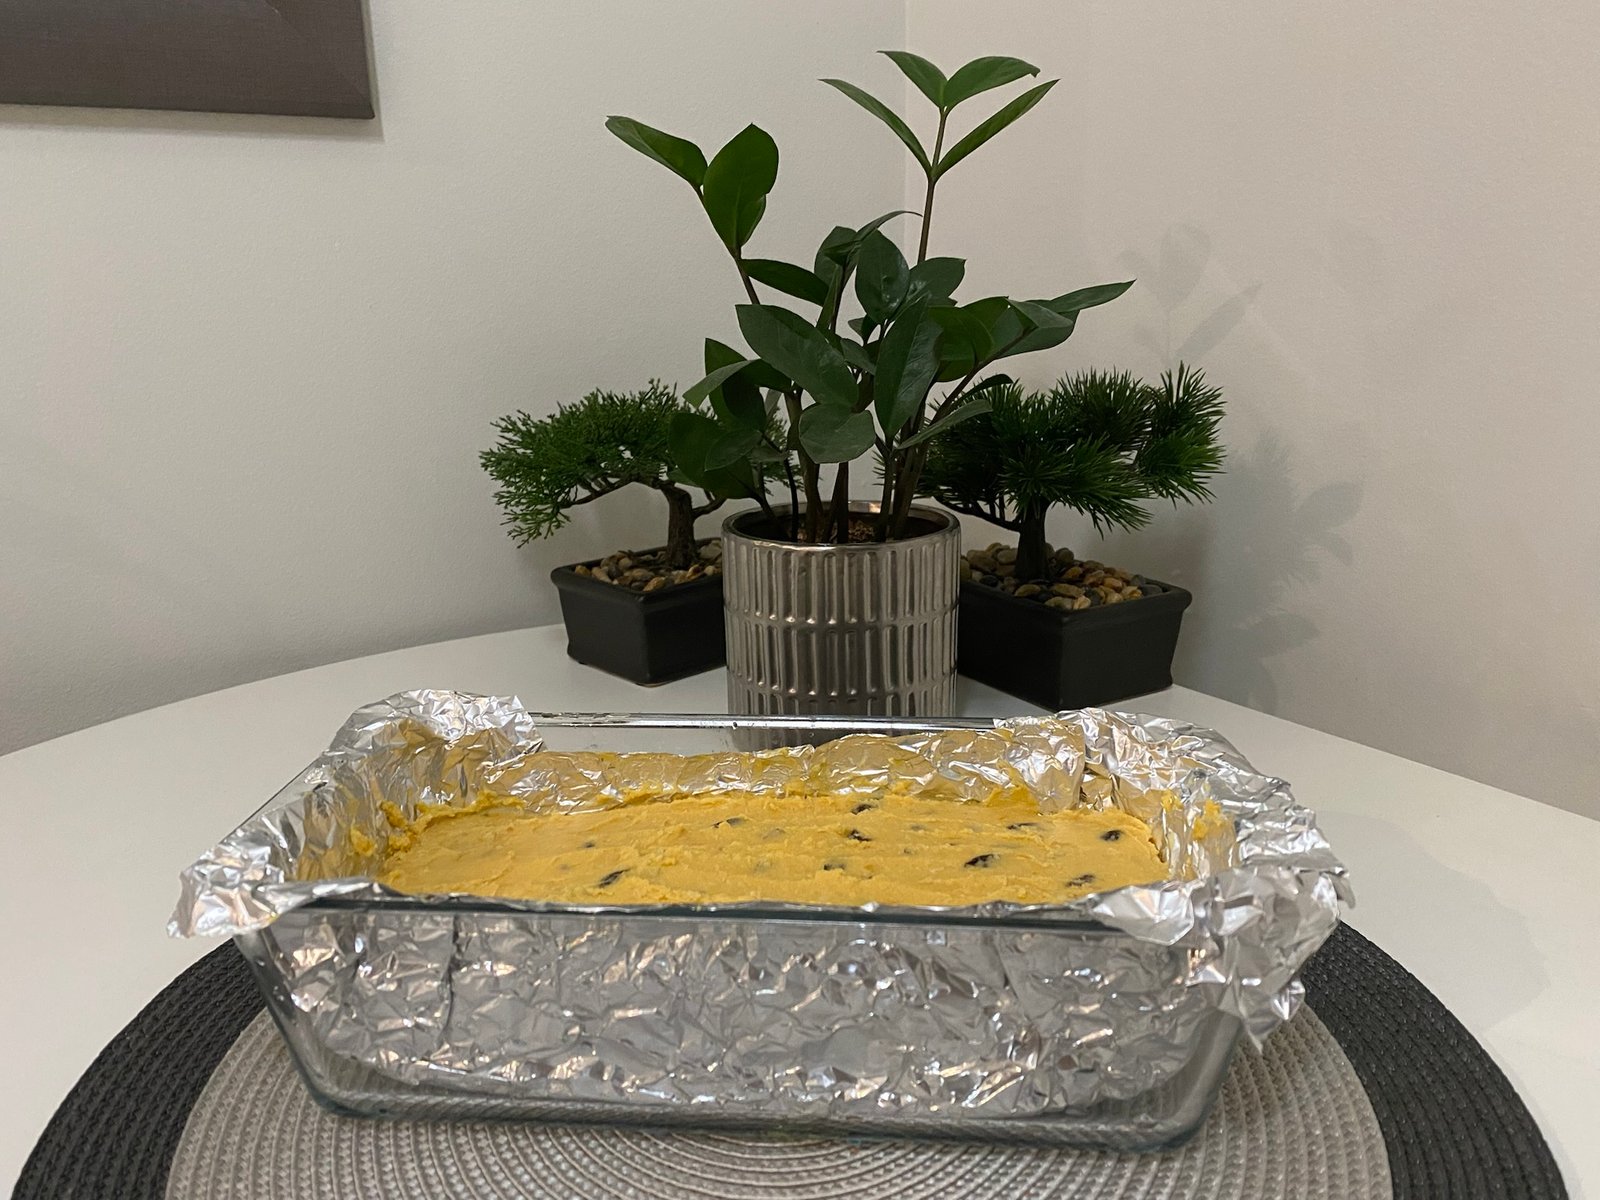
Pour the batter into your prepared cake pan and spread it evenly. Bake for approximately 45 to 50 minutes, or until a toothpick inserted into the center comes out clean (a few moist crumbs are fine, but wet batter means it needs more time).
Step 9: Drizzle and Cool
While the cake is still warm, drizzle the top with additional maple syrup for a sweet, glossy finish. Let the cake cool COMPLETELY in the pan before removing it. Gluten-free cakes are more delicate while warm, so patience is key here.
Step 10: Slice and Serve
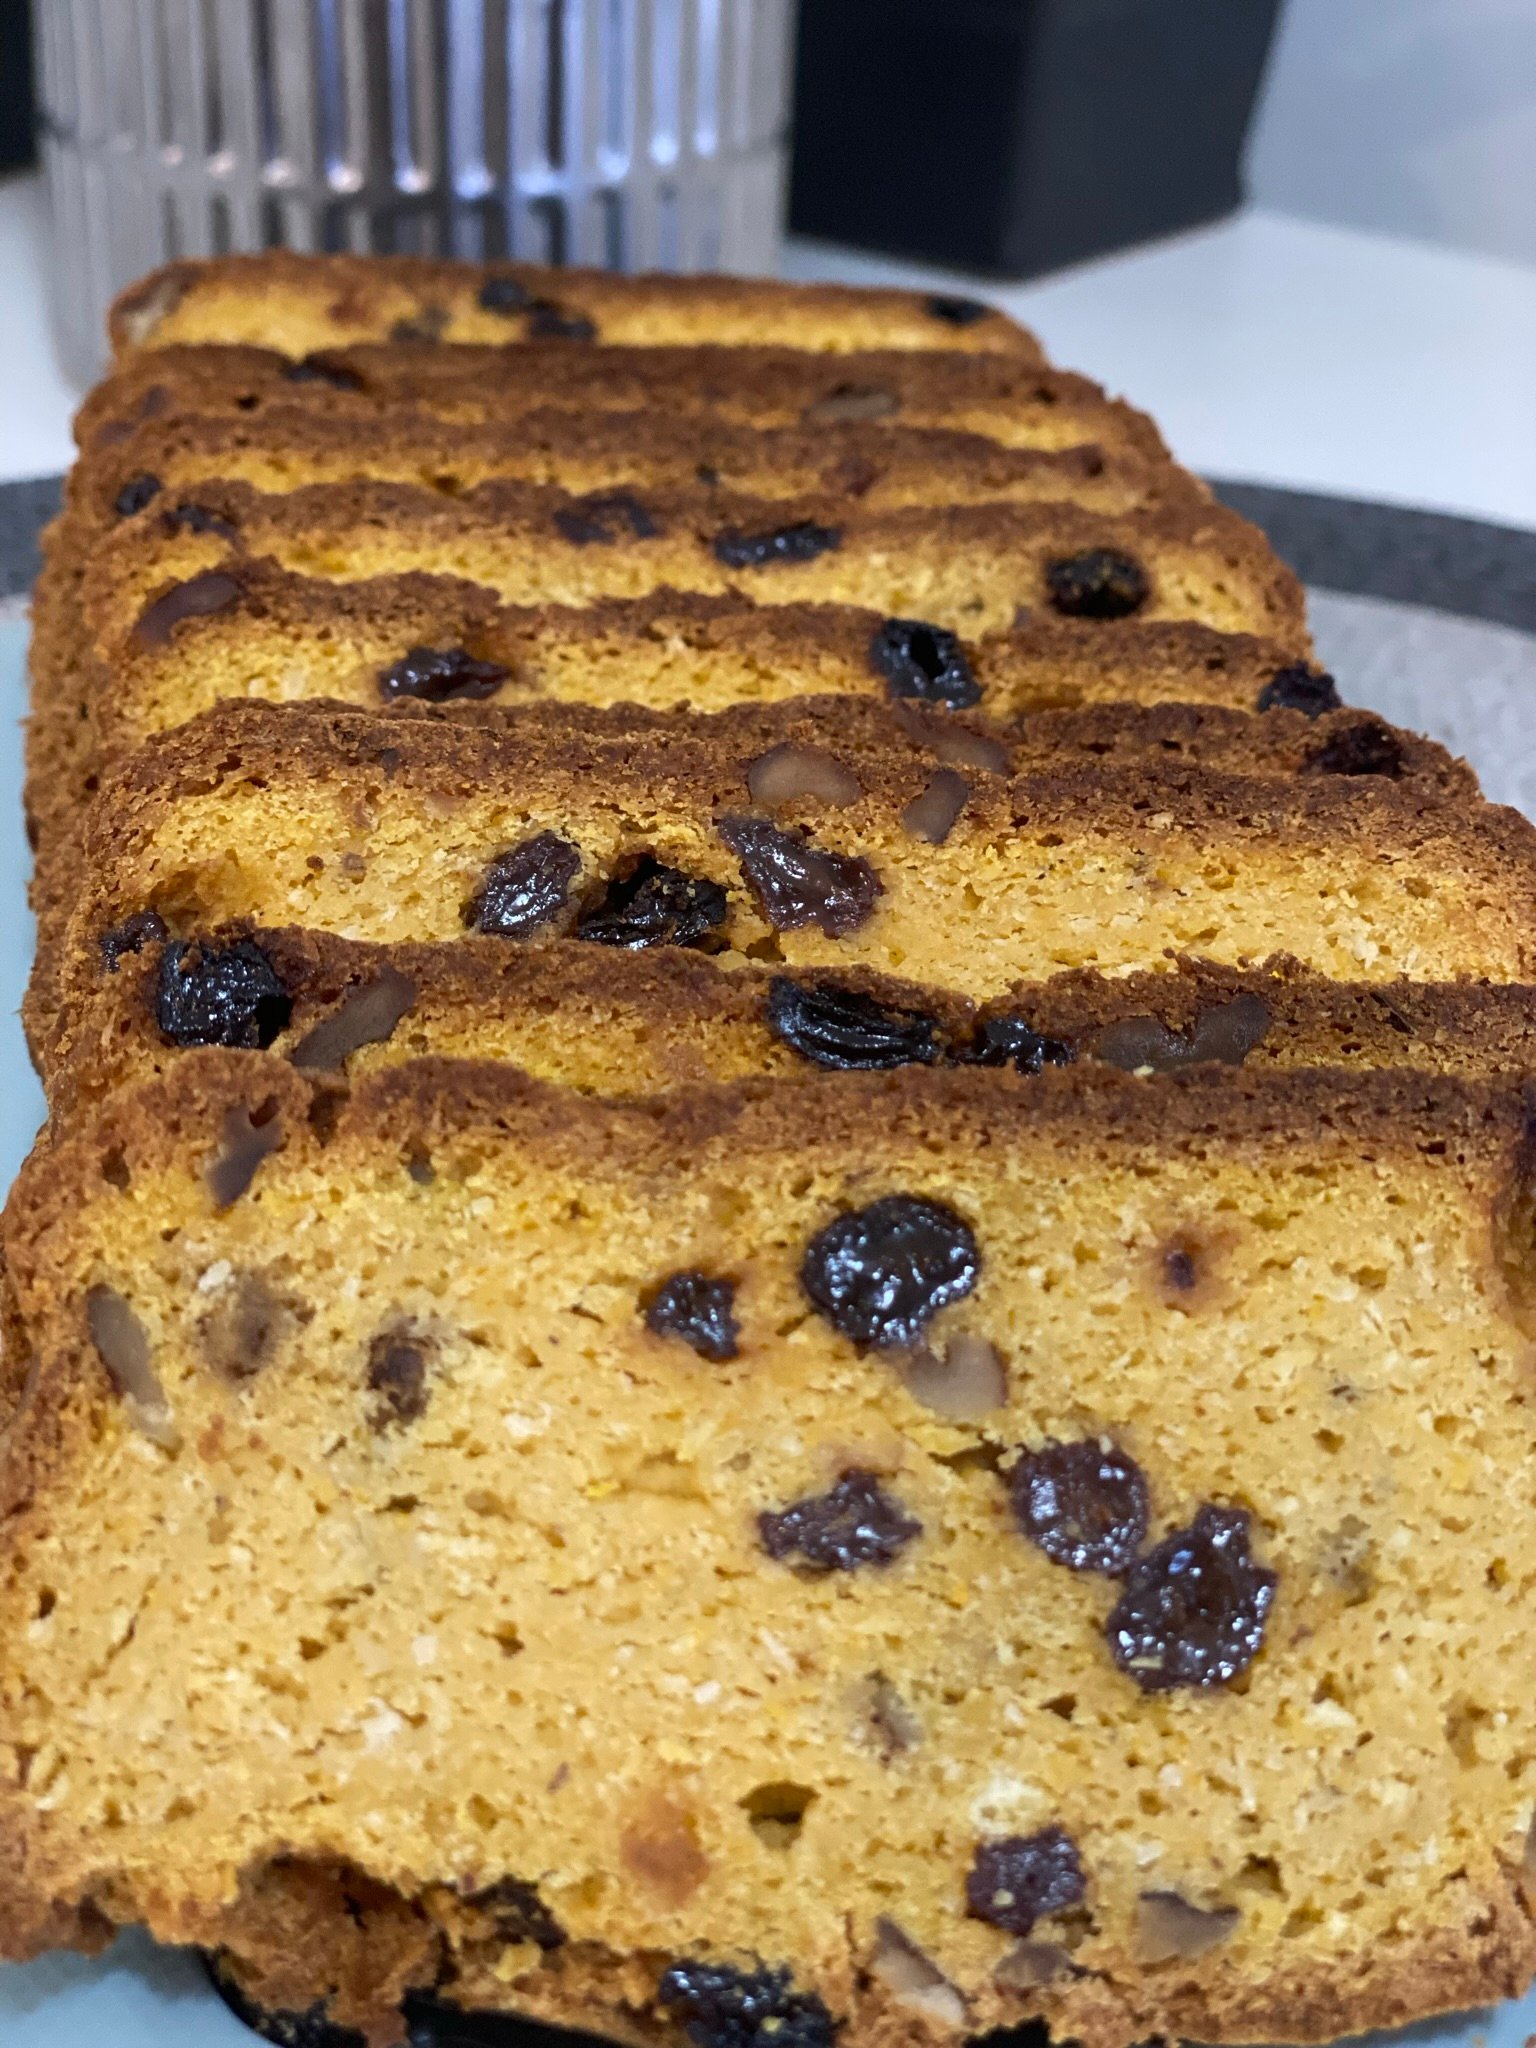
Once fully cooled, slice into generous portions and serve. You can sprinkle some extra shredded coconut or chopped walnuts on top for a finishing touch.
Tips for the BEST Gluten-Free Pumpkin Cake
Always use the toothpick test. Gluten-free baking times can vary, so don't rely on time alone. Insert a toothpick into the center during the last few minutes. Clean or a few moist crumbs means it's done.
Watch the color. A golden brown top is a good visual indicator, but ovens vary. Use the toothpick test as your PRIMARY guide.
Let it cool completely. This is NOT optional. Gluten-free cakes with ingredients like pumpkin puree and coconut are more fragile when warm. Let it cool fully before you try to remove it from the pan.
Drain homemade pumpkin puree. If you're making your own pumpkin puree, drain any excess moisture before adding it to the batter. Too much liquid can throw off the consistency.
Taste your maple syrup first. Maple syrups vary in sweetness. Taste it before adding, and adjust the amount if you want a sweeter or less sweet cake.
Experiment with flours. Not all gluten-free flour blends are the same. Some give a lighter texture, others are denser. Try different brands until you find the one that works best for you.
How to Store Gluten-Free Pumpkin Cake
Store the cake in an airtight container at room temperature or in the fridge. Gluten-free baked goods tend to dry out faster than regular ones, so sealing it properly is ESSENTIAL for keeping it moist.
Make these GLUTEN-FREE recipes next:
Gluten-Free Pumpkin Cake
Ingredients
- 3 cups gluten-free all-purpose flour
- 1 and 1/2 cups pumpkin puree
- 2 cups pure maple syrup plus extra for drizzling
- 1 and 1/2 cups coconut oil or unsalted butter melted and cooled
- 3 egg whites
- 1 and 1/2 cups raisins
- 1 cup walnuts chopped
- 1 cup unsweetened shredded coconut
- 1 and 1/2 teaspoons baking soda
- 1 and 1/2 teaspoons lemon juice

Instructions
- Preheat your oven to 350°F (175°C). Grease and flour a cake pan of your choice.
- In a large mixing bowl, combine the gluten-free all-purpose flour and one spoon of baking soda. Stir well to distribute evenly.
- In a separate bowl, whisk together the melted and cooled coconut oil (or butter), egg whites, and maple syrup until smooth.
- Gently fold the pumpkin puree into the wet mixture until evenly distributed.
- Gradually pour the wet ingredients into the dry ingredients, stirring continuously to form a smooth batter. Do not overmix.
- Fold in the raisins, shredded coconut, and chopped walnuts until evenly spread throughout the batter.
- In a small bowl, combine the lemon juice with the remaining half spoon of baking soda. Let it fizz briefly, then fold it into the batter.
- Pour the batter into the prepared cake pan and spread evenly. Bake for 45 to 50 minutes, or until a toothpick inserted into the center comes out clean.
- While the cake is still warm, drizzle the top with additional maple syrup. Let the cake cool completely in the pan before removing.
Notes
- Always use the toothpick test. Clean or a few moist crumbs means it's done. Wet batter means it needs more time.
- Let the cake cool completely before removing from the pan. Gluten-free cakes are more delicate while warm.
- If using homemade pumpkin puree, drain any excess moisture before adding to the batter.
- Taste your maple syrup before adding. Adjust the amount based on how sweet you want the cake.
- Not all gluten-free flour blends are the same. Feel free to experiment with different brands for the best texture.
- Store in an airtight container. Stays fresh for 3 to 4 days at room temperature and up to a week in the fridge.

0 Comments